Safety Inspections
Complete a safety walk by starting with a list of checkpoints, creating a checklist as you walk or make an observation on the fly.
Written By Patrick
Last updated About 2 months ago
There are safety Checklists, Walks, and Observations. Use a checklist to start the inspection with a list of checkpoints to review for a reminder of what to look for. A Walk looks identical without the list pre loaded and instead you add the items to the list as you walk. An Observation is an object that is created from a checklist or alone that does the tracking things like notifications, responsibility, and due date. Since we didn’t think you’d be caring a laptop while on a job walk, these instructions all apply to mobile.
Start New Checklist
Choose from a scope specific or all inclusive checklist available from the company level. Check out Add or Update Templates if you don’t see the ones you need.
Select the Checklist template
Create New
Fill Out the General Information
Click Continue
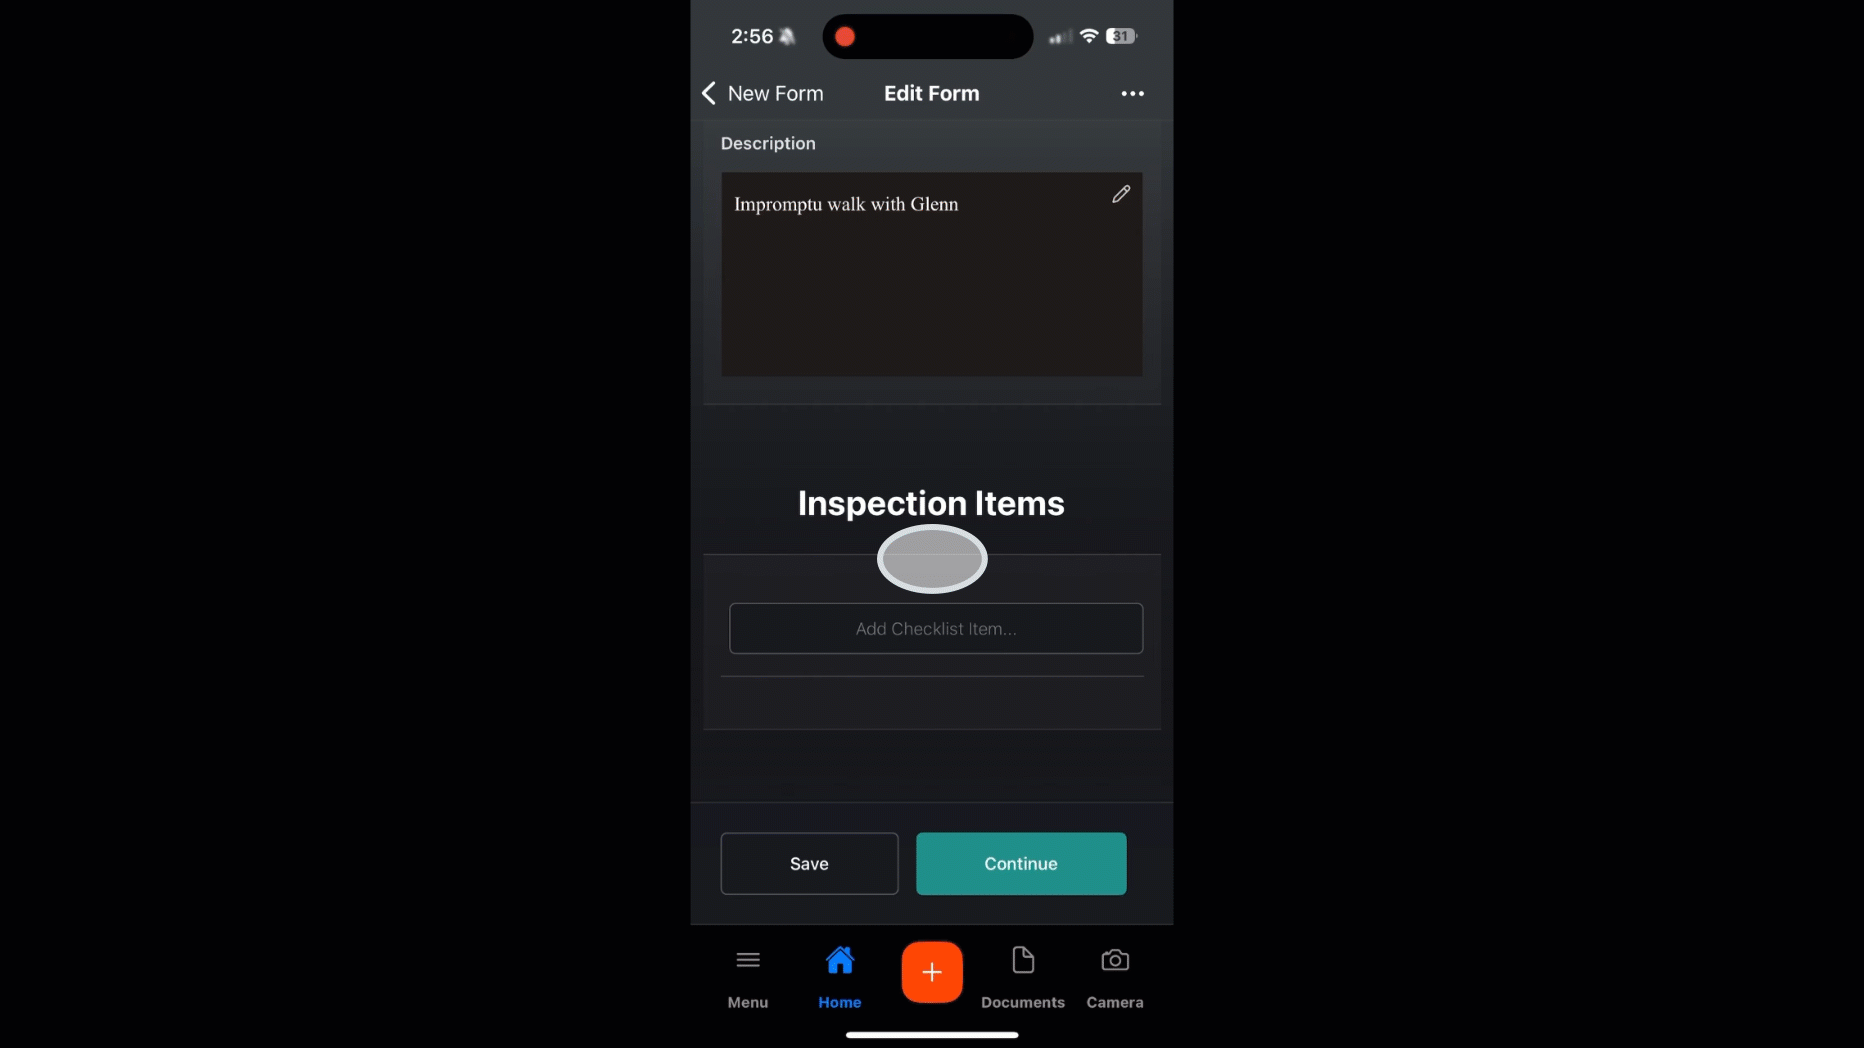
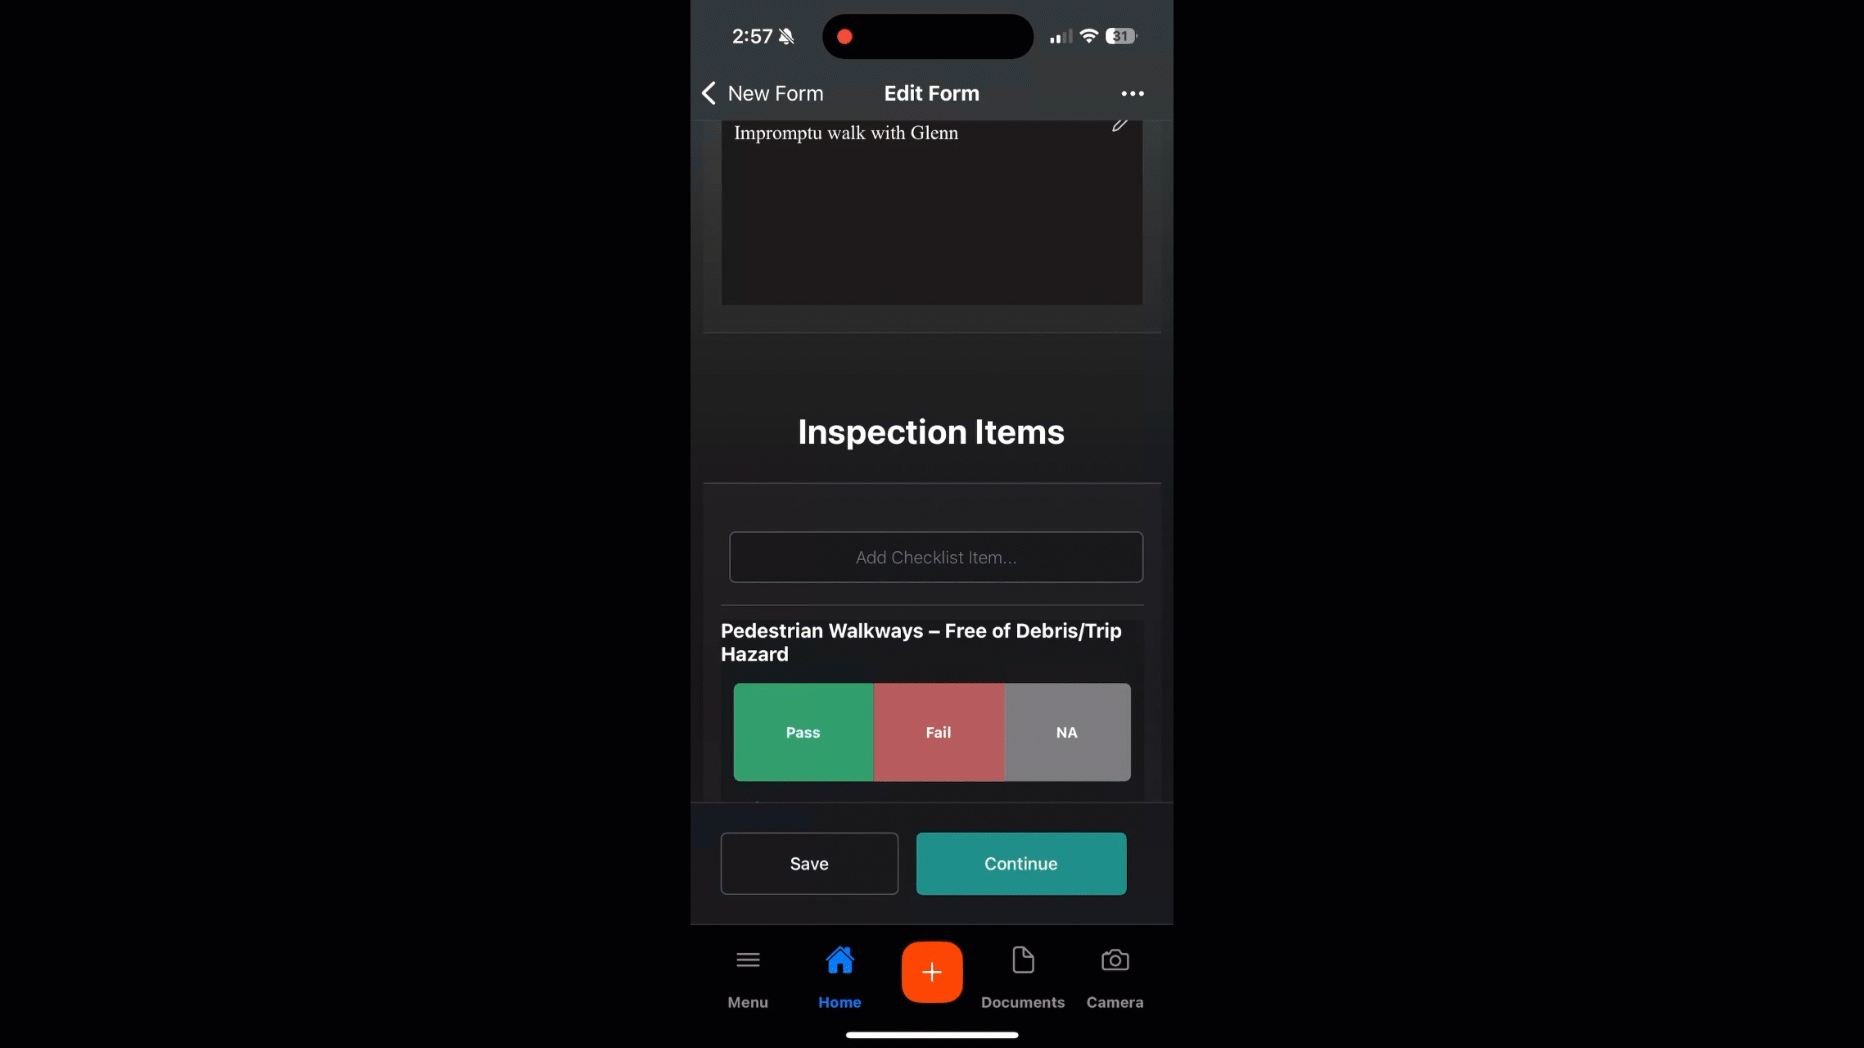
Adding Checklist Items
Use when performing a Safety Walk or add items that are not included with a checklist template.
Tap the Select Checklist Item area
Search or Scroll to the item and Add Item
Mark the items Safe, At Risk or NA
Create an Observation
Either on the fly or after marking At Risk on a Checklist item. Walking the job and not intending to do a safety inspection? No problem. Just go straight to creating the observation, tie it to the inspection it would have come from, and get back to business.
Origin will be filled out if starting with a checklist item, but if the observation is created on the fly select (search or scroll) the checklist template the observation is associated with.
Mark Safe or At Risk
Enter a quantity if more than 1.
Add a Photo
Write a Description
Choose a Location
Assign Responsible Person(s) (You can type company or user name)
CC those who need a notification but don’t need to respond.
Continue and then Save or Publish.
When created from a Checklist item - If you want the observation to send now, Publish. To collect notifications and send later, Save. Learn more about Notifications.
Responding to an Observation
From the Home Screen (or notification email) tap the link on the ToDo List
Choose a Response
Attach a photo
Type a response
Tap Respond
*Continue will leave this screen or you can use Home or Menu to do something else.
Distribute Observations
While completing a safety walk the observation notifications are collected to avoid over notification of Assignees. Find the banner on Desktop or Mobile to send. Check out the Notifications article to learn more.
Distribute Checklist (Desktop)
After the walk is complete, share a summary of the checklist with the team. And forget about a “status” like open or closed. The walk is done and everything in need of tracking is in an observation, so aside from a review from those not on the walk, the checklist is history. Check out this article on how to distribute.
Good to Know
Corrected on the Spot? Just add Assign the Observation and then tap Close in the Assignee area before Publishing. We will still have record of the observation but the person Assigned won’t have to respond (or get an email) in Mercury. Let’s bring the phone call back!
You can have more than one person doing a Safety Walk or Checklist at the same time on separate devices. Have one person create and the others find it a tap Edit. Now it’s one comprehensive walk. And don’t worry, credit (for reporting) is given to those who hit Pass or Fail and not the person who hit create.